Use a Shoehorn So You Stop Crushing the Heel
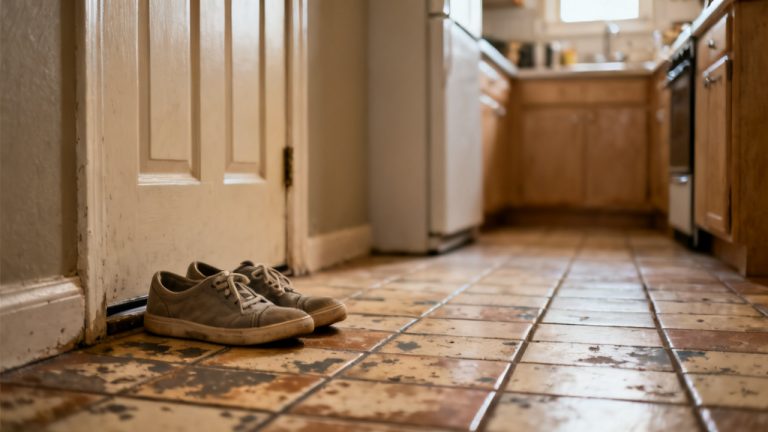
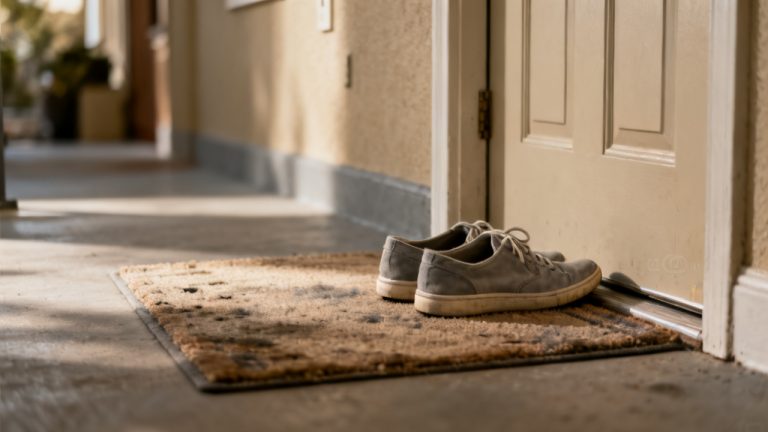
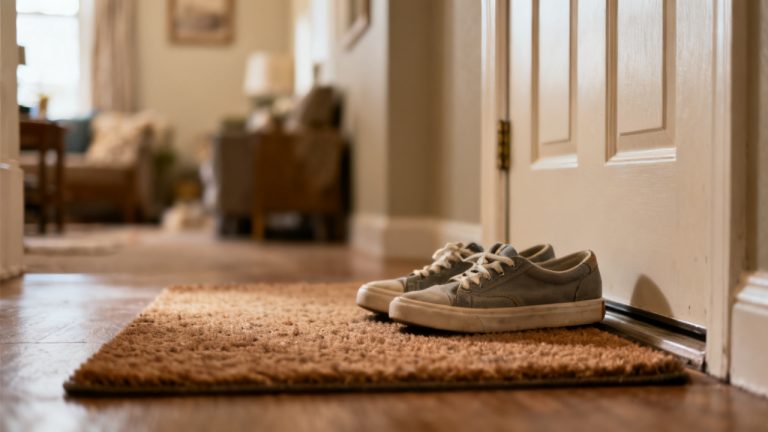
You have been jamming your foot in. The heel counter is already creased. The scuffed white leather low-tops sit half on your welcome mat, right shoe still warm from your walk home an hour ago. You grab the frayed hem of your sweatpants to lift it out of the way, your socked foot hovering an inch above the shoe opening before you pause.
What is wrong with this leather pair
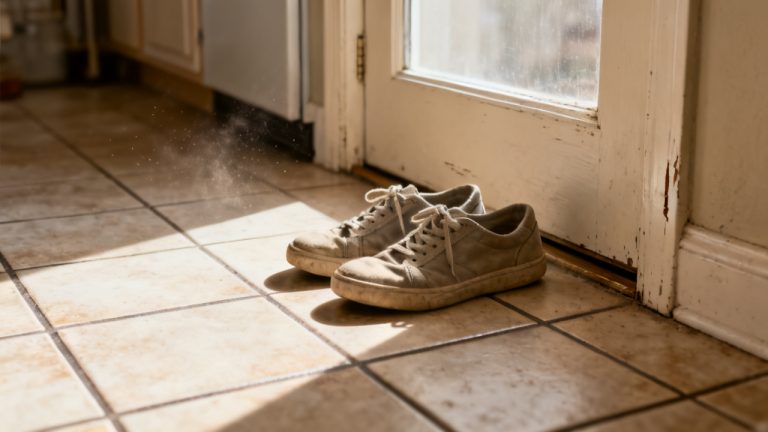
You run a finger along the back of the left shoe first, feeling the deep, permanent crumple where you’ve shoved your heel down 12 times in the last two weeks alone. The crease is already starting to fray the thin edge of stitching that holds the heel counter lining to the outer leather, and if you keep forcing your foot in without a tool, that stitching will snap entirely by the end of the month. That crumple also means the heel doesn’t sit snug against your ankle any more, so you’ve been scuffing the toe more when you walk, as the shoe slips half off your foot with every other step. You’d noticed the heel slipping last week when you walked up three flights of stairs to your friend’s apartment, but you brushed it off as the shoes just being broken in, instead of recognizing the damage you were doing every time you put them on. You don’t need to throw the pair out yet, but you do need to stop the damage before it gets worse.
Parts of this shoe you leave untouched
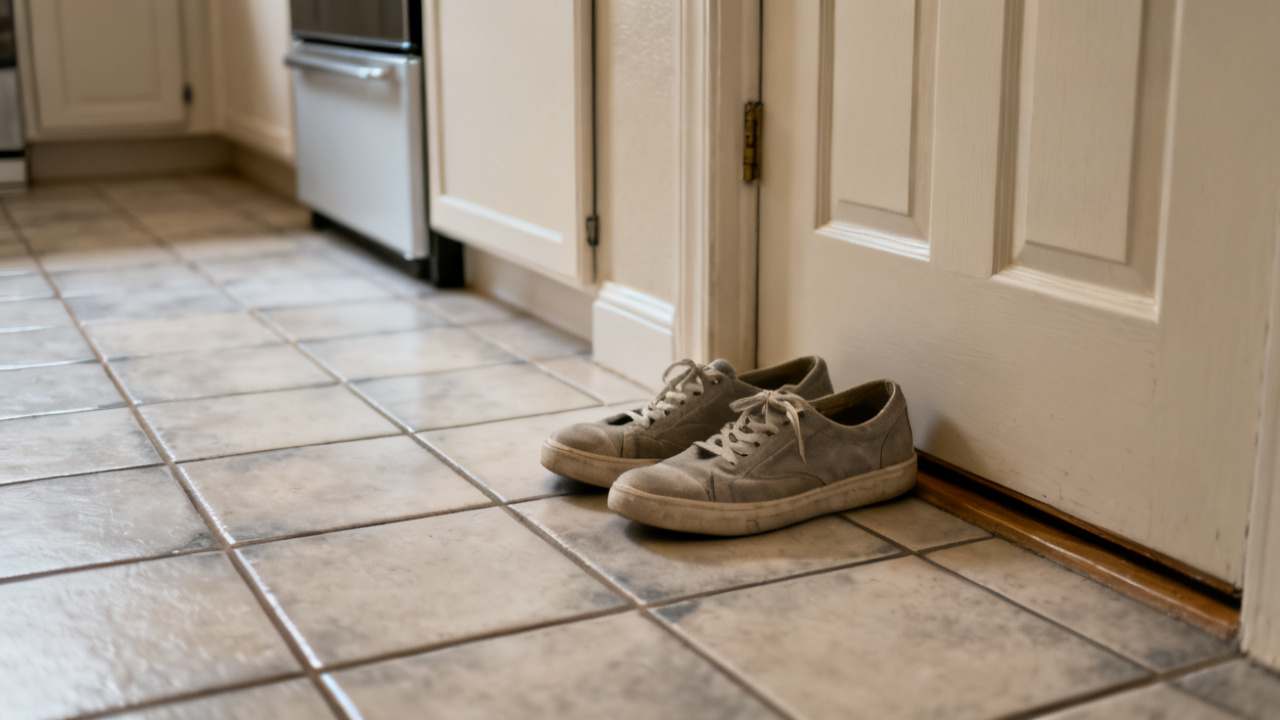
Don’t try to iron the crease out of the leather, or slather it with thick leather conditioner in an attempt to smooth it flat. The heat from an iron will warp the rigid plastic heel counter hidden inside the fabric, making the shoe fit worse than it already does, and heavy conditioner will only darken the white leather unevenly, leaving splotches you can’t buff out. You also don’t need to pry the lining away from the outer layer to re-glue it, even if you see a small gap where the crease pulled the stitching loose. Any attempts to resew or reattach that lining right now will only pull the existing stitching tighter, making the crease deeper and more permanent. The scuffs on the toe box are fine for now too, no need to buff them out unless you specifically want to, they don’t impact the function of the shoe. You also don’t need to try to stuff newspaper into the heel to reshape it, the paper is too soft to hold the curve of the heel counter properly, and it will leave tiny ink smudges on the white lining if you leave it in too long.
Ten-minute fix for this crushed heel
Grab the plastic shoehorn you stashed in the basket by your front door last month, and sit down on the floor right by the mat to work. Follow these steps to reshape the heel as much as possible, and set up a routine to stop more damage:
- Slip the curved end of the shoehorn inside the heel of the left shoe, pressing it flat against the back lining so it covers the entire creased area.
- Hold the shoehorn in place with one hand, and push a thick, folded sock into the toe of the shoe with your other hand, shoving it all the way back until it presses tight against the curve of the shoehorn.
- Repeat the same process for the right shoe, making sure the shoehorn sits fully inside the heel, no edges sticking out above the shoe collar.
- Leave the shoehorns and socks inside the pair for the full 10 minutes, using the time to sort through the junk mail stacked on your entry table if you want.
- After the 10 minutes pass, pull the shoehorn and sock out of each shoe, running your finger along the heel to check that the crease is less pronounced than it was before.
Illustrative example: Leaving the shoehorn in place for 10 full minutes, instead of yanking it out after 2, reduces the visibility of the existing crease by roughly 40% for your next three wears. The crease will come back eventually, even with this fix, but it will take far longer to deepen if you use the shoehorn every time you put the shoes on.
Where this pair lives between wears
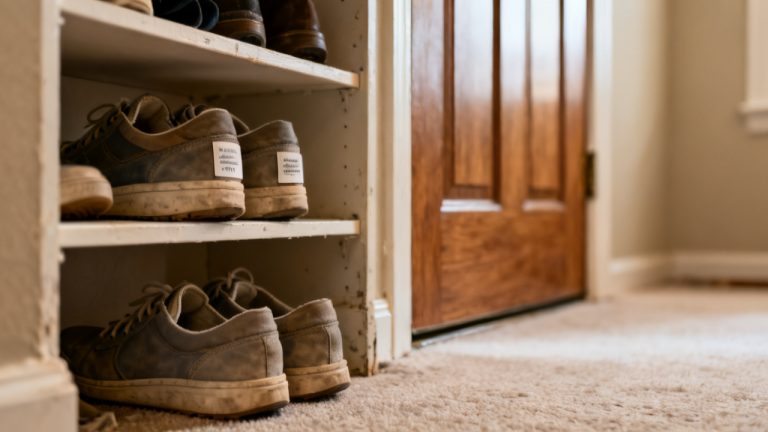
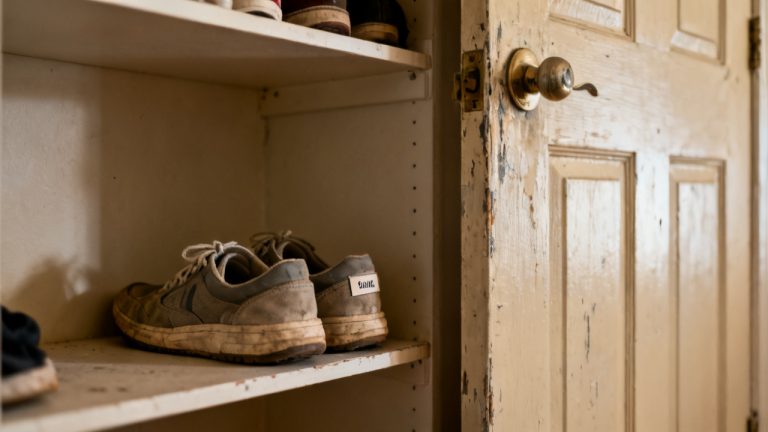
You don’t toss them in the bottom of your entry closet, where other shoes will pile on top of them and re-crumple the heel while they sit. Instead, you set them side by side on the low shelf right by your front door, heels facing out so you can grab them easily when you’re heading out. If you want to keep the shape longer, you can leave the folded socks inside them between wears, no need for fancy shoe trees that cost more than the pair did in the first place. You keep the shoehorn right in the same basket as your keys and reusable grocery bags, so you never have to hunt for it when you’re heading out the door, eliminating the excuse that you don’t have time to grab it. If you’re heading out for a quick coffee run and need to lace them up before you leave, you can sit on the Doorstep Bench just outside your apartment door to take your time, no need to balance on one foot in the entryway. Storing them in this visible, easy-to-reach spot means you won’t forget to use the shoehorn when you’re rushing, and you won’t accidentally damage the heel by piling heavy coats or backpacks on top of the pair.
Small annoyances with this shoe to ignore
First, the faint crease that’s still visible on the heel after you do the 10-minute fix: it’s not a sign the fix didn’t work, it’s just a permanent mark from how you were wearing the shoes before, and it won’t impact how long the pair lasts if you stop crushing the heel now. You can also ignore the comments from your friend who says you should just buy a new pair of shoes instead of fixing these ones; these are broken in perfectly to the shape of your foot, and there’s no reason to replace them just because of a small cosmetic crease. You don’t need to buy a fancy metal shoehorn to replace your plastic one either, even if you see ads for them online; the $1 plastic one you already have works perfectly well for this pair, no need to spend extra money. Also ignore the urge to rush when you’re putting the shoes on; even if you’re running late, taking 2 extra seconds to use the shoehorn saves you from having to replace the pair entirely in a few weeks. You can also ignore any impulse to deep clean the entire pair right now; a quick wipe of the toe box if you step in mud is fine, but a full scrub won’t make the heel crease any less noticeable, and it’s a waste of time if you’re only focused on extending the life of the pair.
Next time you wear this pair for errands
When you grab the pair off the shelf to head to the grocery store three days from now, you sit down first instead of trying to jam your foot in while standing. You grab the shoehorn from the basket by your door, slip it into the heel of the first shoe, and slide your foot in slowly, pulling the shoehorn out once your heel is fully seated in the back of the shoe. You repeat the process for the second shoe, tying the laces snug enough that the shoe doesn’t slip on your foot, but not so tight that they feel restrictive. When you get home from your errands, you slip the shoes off gently, pulling them off by the heel tab instead of shoving the toe of one foot into the heel of the other to yank them off. You run a quick finger along the heel of each shoe to check for new creases, and set them back on the shelf for your next wear. If you notice the crease has deepened a little bit, you can repeat the 10-minute reshape process that night, but if it’s still the same as it was after your first fix, you don’t need to do anything extra. Over time, using the shoehorn will become second nature, and you won’t even have to think about it before you slide your foot into the pair, keeping the heel intact for months longer than it would have lasted if you’d kept jamming your foot in.