The Aglet Will Not Go Through the Eyelet
The plastic tip is gone. The lace end is a fuzz that will not pass the hole. You shift your weight on the Doorstep Bench, one foot still in the scuffed white canvas low-top you’re wearing, the other bare on the welcome mat. A light rain started 10 minutes ago while you were out walking the dog, and the lace got wet halfway home, fraying the last of the aglet clear off. You don’t have a spare pair of laces tucked in your bag, and the last thing you want to do right now is traipse back out to the corner bodega for a pack.
Prep this pair’s frayed lace for the stuck eyelet
You squeeze the frayed end between your thumb and forefinger, twisting it tight to compress the fuzz as much as you can. You hold the twist for 10 full seconds, pressing hard enough that the wet fibers flatten against each other instead of splaying out. You blow on the end once to dislodge any loose stray fibers that might catch on the eyelet’s metal rim as you push. Illustrative example: If you hold the twist for 20 seconds instead of 10, you can keep the lace compressed long enough to push it through three lower eyelets before it unfurls again. This works best for dry laces, though, so you don’t waste extra time holding the twist for longer than you need to with your already rain-soaked lace.
Test temporary fixes for this shoe’s unthreadable lace end
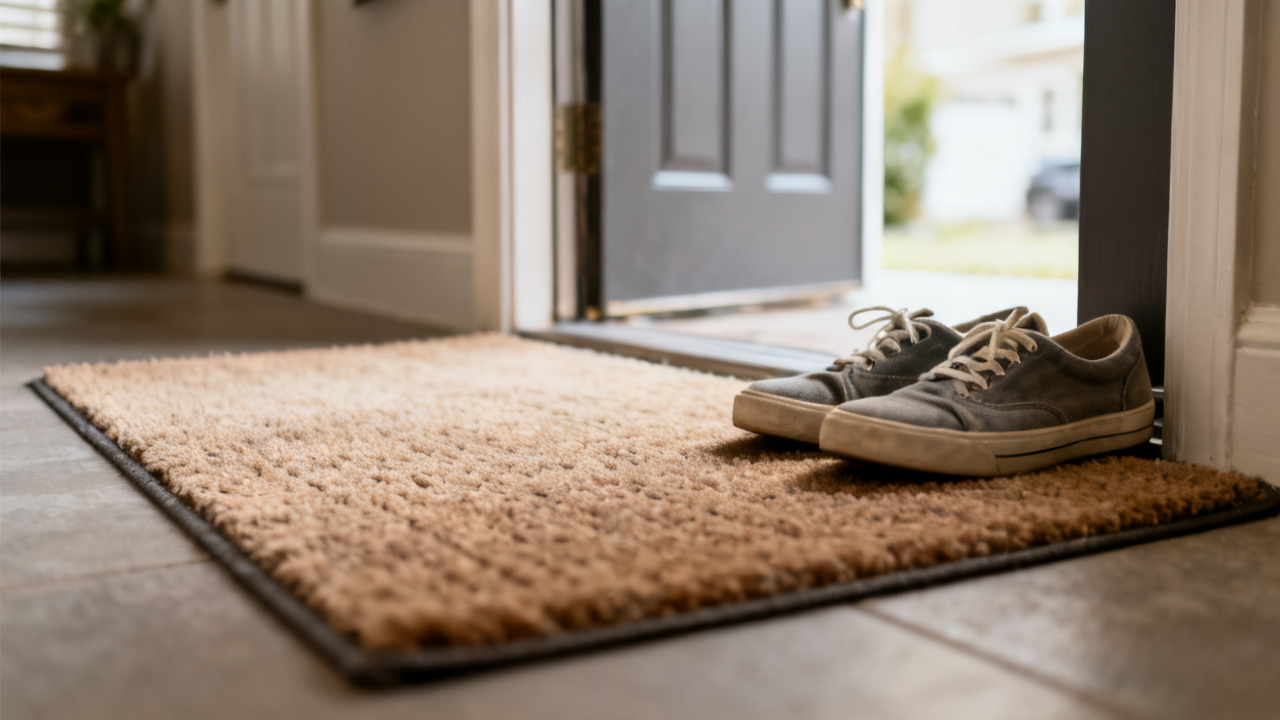
You first try licking the twisted end, just enough to dampen the fibers so they stick together more securely, but the lace is already wet from the rain, so that doesn’t add much grip, and the fuzz splays out as soon as you move your fingers away from the end. Next, you reach into your jacket pocket and pull out the scrap of clear packing tape you stuffed there last week to seal a ripped grocery bag, tearing off a tiny strip just wide enough to wrap around the frayed tip. You wrap it tight, overlapping the edges twice, then trim the excess with the small nail scissors you keep on the hall shelf inside your door, leaving a ¼ inch tapered tip that’s thin enough to fit through the eyelet’s opening. You don’t overwrap the tape, because you know too much bulk will make it too wide to slide through even if the tip is perfectly tapered, and you don’t want to have to tear it off and start over.
Compare quick aglet replacements for this canvas low-top pair
| Replacement type | Time to apply | How well it holds through 5 wears | Notes for this pair |
|---|---|---|---|
| Clear packing tape | 30 seconds | 2–3 wears | Works best for temporary fixes when you don’t have other supplies on hand; trim the tip as narrow as possible to avoid snags on the eyelet edges |
| Heat-shrink tubing | 2 minutes | 8–10 wears | Requires a lighter or match to seal; don’t hold the flame too close to the canvas to avoid scorching this pair’s off-white upper fabric |
| Clear nail polish | 1 minute | 4–5 wears | Let it dry fully before threading to avoid sticky residue on this pair’s silver metal eyelet rims that could discolor the canvas over time |
| Super glue on the lace tip | 45 seconds (plus 2 minutes drying time) | 6–7 wears | Don’t get glue on your fingers or this pair’s canvas while the formula is still wet to avoid permanent marks |
You opt for the packing tape fix right now, since you don’t want to step inside to grab nail polish, glue, or a lighter before you get the dog’s leash off and wipe his muddy paws off on the mat. The tape is already in your pocket, so it’s the fastest, most accessible option for your current situation.
Thread the adjusted lace through this shoe’s top eyelet first
You follow a simple process to make sure you don’t tear the tape or fray the lace end again before it’s fully threaded:
- Hold the tapered taped end between your thumb and index finger, lining it up perfectly with the center of the eyelet so it doesn’t catch on the rounded metal edge.
- Push the tip straight through the eyelet, applying steady, even pressure instead of jabbing it, which could tear the tape or unfurl the frayed lace underneath.
- Pull the end through from the inside of the shoe once you see ½ inch of the tip peeking out the other side, tugging slow enough that the tape doesn’t peel off mid-pull.
- Work the lace down through the lower eyelets one at a time, retightening the twist of the lace any time you feel the tape start to shift or peel as you pull it through.
You get the lace all the way through the last eyelet in under a minute, tying a tight double knot at the top so the lace doesn’t slip loose while you’re walking inside or moving around your apartment. The tape holds perfectly, no snags, no fuzz catching on the edges of the eyelets as you pull, and the shoe fits just as snug as it did before the aglet fell off. You wiggle your foot a few times to test the fit, and there are no tight spots or loose sections throwing off how the shoe sits on your foot.
Swap this pair’s laces entirely after your evening shower
You already have a pack of flat white laces tucked in the top drawer of your dresser, the exact same width as the current laces, that you picked up last month when you replaced the worn laces on your trail running shoes. After you shower and feed the dog his dinner, you’ll sit on the edge of your bed, pull the taped lace all the way out of this pair, and thread the new laces through the eyelets from the bottom up, making sure each side is even before you tie the first knot. You’ll save the current frayed lace as a spare for emergency use, tucking it in the side pocket of your hiking backpack in case a lace breaks on a trail later this season. You don’t need to rush the swap, since the tape fix will hold through the rest of the night, even if you walk down to the corner bodega to grab a cold soda and a bag of chips later. You’ll also take 30 seconds to check the aglets on the other shoe in this pair, making sure they’re still secured tight so you don’t run into the same problem on your early morning walk with the dog tomorrow. You can even add a tiny dab of clear nail polish to the ends of the new laces once you thread them, if you want to extend how long the aglets stay intact before they start to fray on their own.