The Shoe That Squeaks on the Kitchen Floor
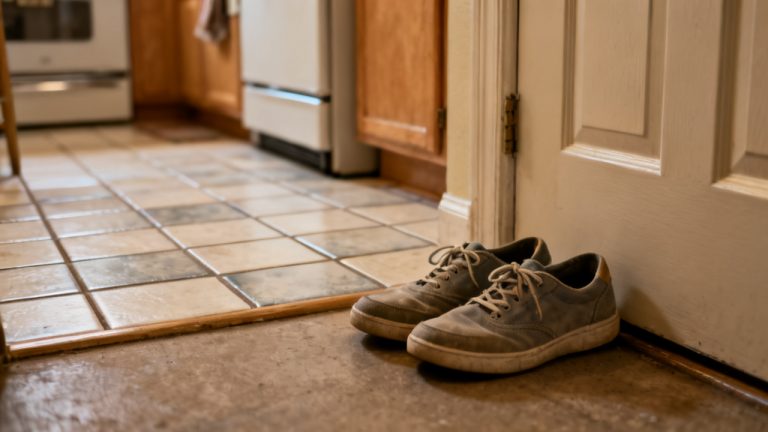
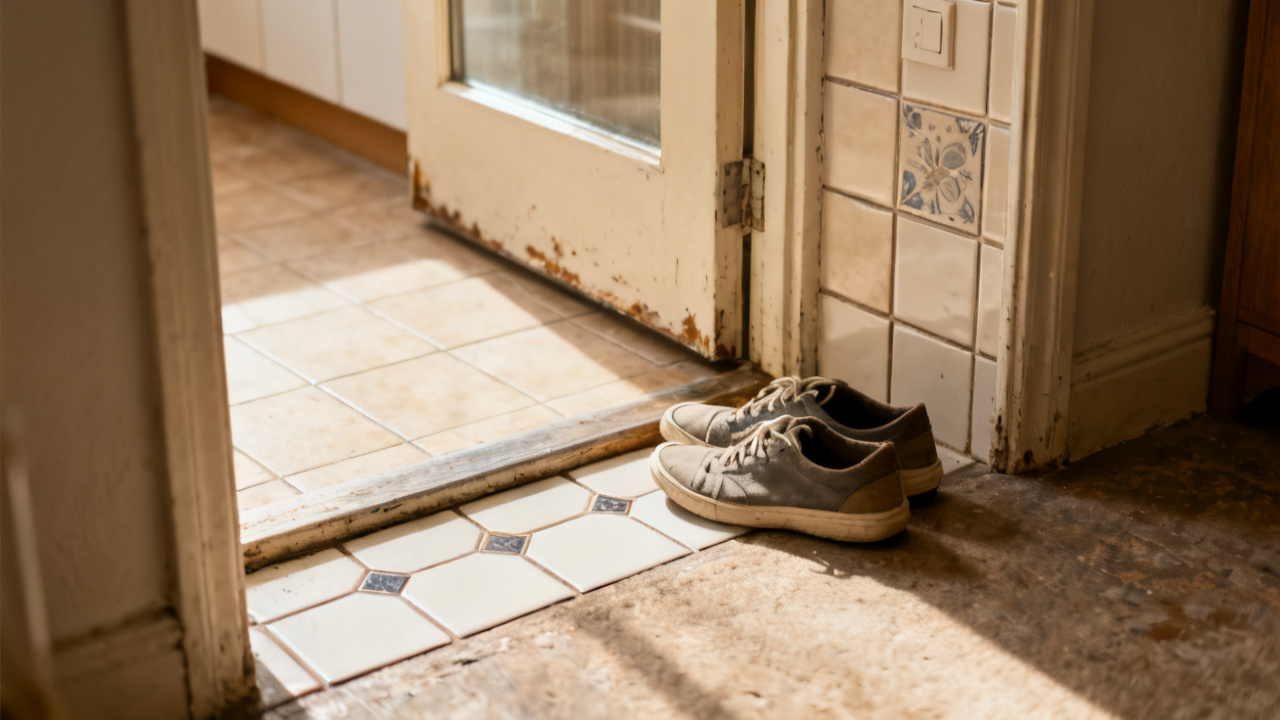
Every step on the tile makes the same squeak. The other shoe is quiet. You shift your weight back and forth on your heels, testing the noise to make sure you didn’t imagine it, and sure enough, every time your left heel presses into the grout line, a high, reedy chirp cuts through the hum of the fridge. You’re still half bent over from fumbling with your keys, grocery bags propped against the doorframe behind you, so you don’t have to walk far to confirm the issue is isolated to this left shoe alone. The mat under your feet is soft enough to muffle the sound entirely, so you know the problem only shows up when the shoe hits hard, smooth surfaces.
This Left Shoe’s Hidden Wear Patterns
You prop the shoe up on your knee to inspect it, running your finger along the rubber outsole first. The tread is still mostly intact, no obvious holes or peeling edges, but when you press your thumb into the spot right under the ball of your foot, you feel a tiny give that’s not present on the matching right shoe. You yank the insole out, and notice the thin fabric layer on the bottom of the insole has rubbed thin in that exact same spot, leaving a faint powdery residue of compressed foam on the hard plastic midsole underneath. You remember wearing these shoes last week to the local farmers market, walking through a patch of damp dirt near the cut flower stalls, and you wondered if that moisture had seeped between the layers to cause the noise, but when you run your finger along the midsole, it’s completely dry. The moisture evaporated weeks ago, leaving the rough, worn edge of the insole to rub directly against the smooth midsole every time you apply pressure. You also notice that the edge of the insole is slightly curled right where the ball of your foot presses down, so it shifts a tiny bit with every step, which is why the squeak is consistent, not random. You tap the shoe against the doorframe to shake out any loose debris, but no pebbles or dirt fall out, so you know there’s no foreign object stuck between the layers contributing to the noise.
Quick Fix for This Squeaking Pair
You don’t need any special tools or shoe repair supplies to fix the squeak right now, just a kitchen towel and the jar of cornstarch you keep in your pantry for baking. You set the shoe down on the counter and follow these simple steps to stop the friction:
- Wipe the bottom of the removed insole and the entire surface of the exposed midsole with the dry edge of your kitchen towel to clear away all the loose foam dust and any tiny crumbs that settled inside the shoe during your walk home.
- Sprinkle a thin, even layer of cornstarch over the midsole, making sure to cover the full area where the insole sits, paying extra attention to the spot under the ball of the foot where you felt the give and saw the worn insole fabric earlier.
- Tap the sides of the shoe gently to distribute the cornstarch into any tiny gaps between the midsole layers that you can’t see, then shake out any excess powder over the kitchen sink so it doesn’t end up sticking to your socks later.
- Set the insole back into the shoe, pressing down firmly along the entire length to make sure it sits flat against the cornstarch layer, then put the shoe back on and test it with a few steps across the kitchen tile.
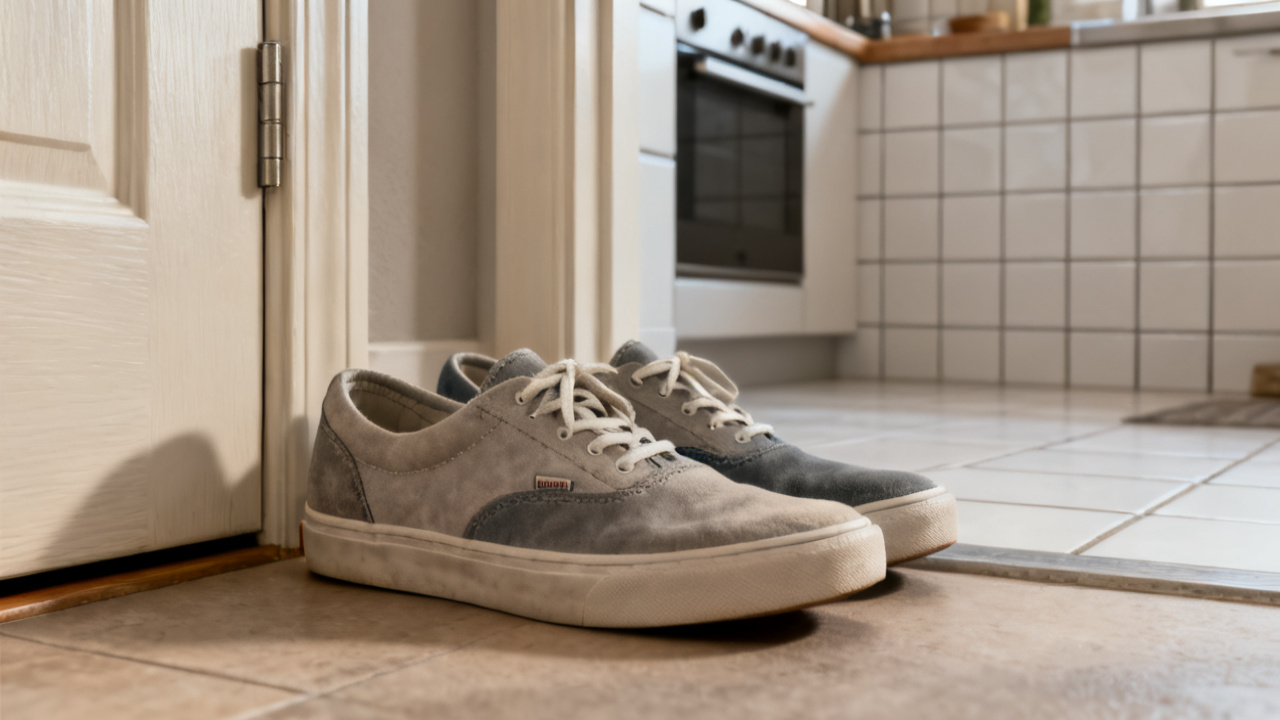
You step back and forth across the tile three times, listening closely, and the squeak is entirely gone. You press your heel down hard, then shift all your weight onto the ball of your foot, wiggling a little to test the worst pressure point, and no sound comes out. You know this fix isn’t permanent; the cornstarch will break down over time, or work its way out of the shoe through the gaps in the tread, or clump up if you step in a puddle, and the squeak will come back eventually, but that’s fine for now. You don’t need these shoes to be silent forever, just silent enough that you don’t wake up your roommate who’s napping on the couch when you get up for water in the middle of the night. Illustrative example: If you only have 90 seconds to get out the door for a planned walk, you can skip wiping away loose dust first and still get enough of a friction buffer to stop the squeak for that trip. You leave the cornstarch jar on the counter near the low Doorstep Bench you keep by the entry for quick on-the-go adjustments, so you don’t have to dig through the back of the pantry next time the squeak returns.
Next Time You Pull This Pair Off the Rack
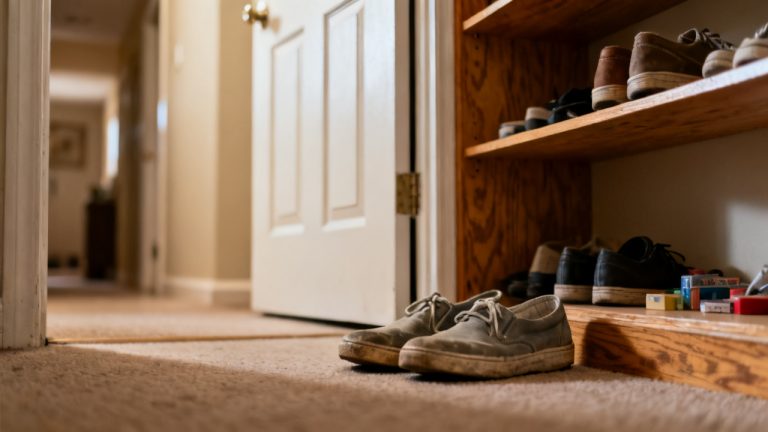
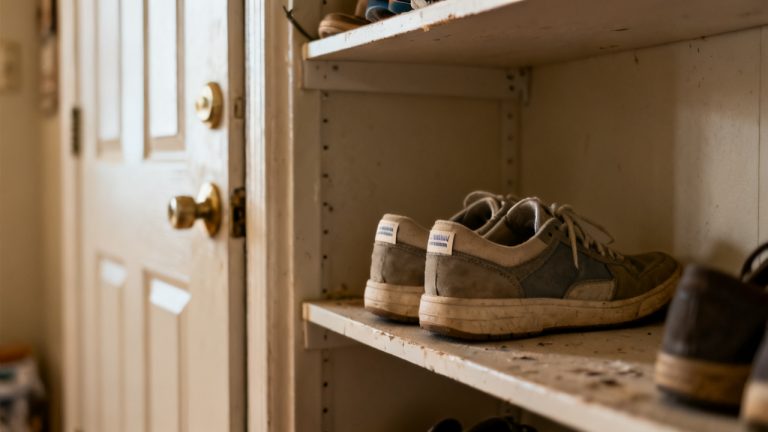
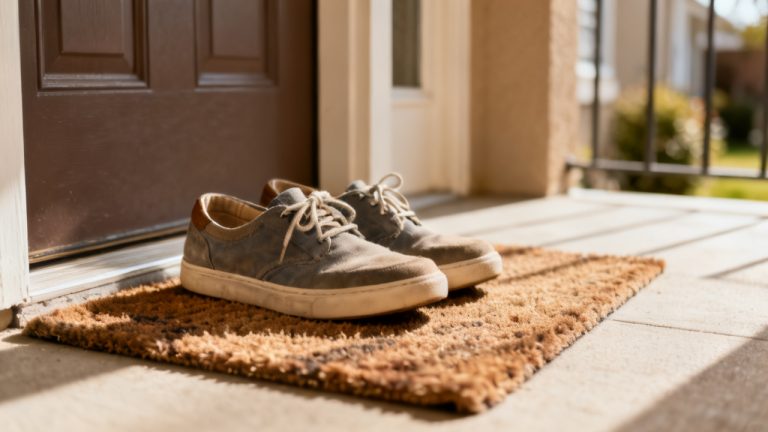
When you’re done testing the fix, you slip the shoes off and set them on the lower shelf of your entryway shoe rack, the left shoe tilted slightly open to air out any residual cornstarch dust so it doesn’t stick to your socks the next time you put them on. You don’t bother marking the shoe or setting a reminder to check the squeak; you’ll notice it immediately the next time you step on the kitchen tile on your way out. Next time you pull this pair off the rack, you first set them down on the entry mat and tap the left shoe upside down to shake out any loose dirt, pet hair, or crumbs that might have fallen inside while they sat on the shelf. You slip them on and take two steps across the kitchen tile, and if you hear that familiar high chirp, you can grab the cornstarch jar off the counter and reapply the fix in less than a minute, no special tools required. If you have more time that day, you can swap the worn left insole out for a generic foam insole you keep in a bin in the hall closet, a spare you picked up last year when you bought new running shoes and didn’t need the extra arch support for this casual pair. You don’t have any plans to replace this pair anytime soon; the canvas upper is still in perfect shape, no rips or noticeable scuffs, the tread has enough grip to keep you from slipping on wet sidewalks, and the fix for the squeak is so simple it’s not worth spending money on a new pair for such a minor issue. You might even try a different fix next time, if you have baby powder lying around instead of cornstarch, or a small piece of moleskin you can stick to the bottom of the insole to stop the friction, but the cornstarch works well enough that you don’t need to experiment unless you want to. When you head into the living room to put your groceries away, you don’t give the formerly squeaky shoe a second thought; the fix is done, it works for now, and you’ll deal with it again whenever it decides to start squeaking again.