The Sole Is Peeling at the Toe
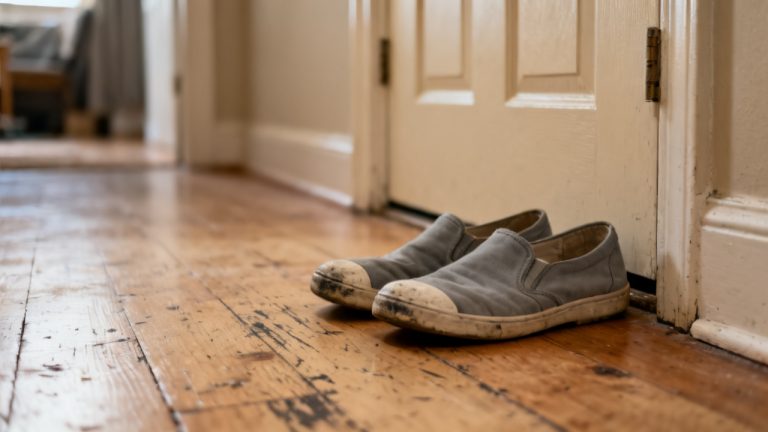
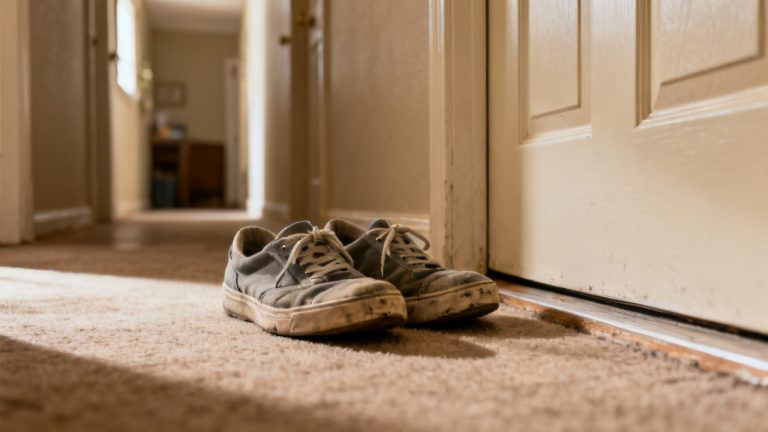
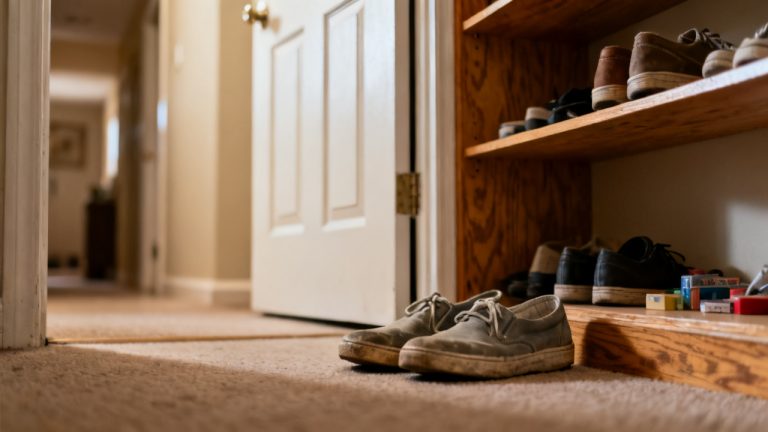
A lip of rubber has lifted. It catches when you walk across the kitchen. You kick off the scuffed white low-top by the Doorstep Bench, prodding the loose edge with the tip of your sock to see how far it pulls away from the canvas upper. A crumb of dried sidewalk dirt falls out from the gap, and you don’t even remember stepping in the puddle that probably softened the glue last week.
What’s Wrong With This Canvas Low-Top
The peel is isolated to the very front of the toe cap, a roughly 2-inch section of rubber that has pulled completely away from the thin canvas overlay stitched to the shoe’s upper. No part of the rubber itself is torn, and the rest of the outsole bond is fully intact—you run a finger along the side of the shoe to confirm, and there are no other lifted edges or soft spots in the glue. The gap is just deep enough to catch on uneven floorboards, rug tassels, and the edge of curbs when you walk, which means every step you take in the shoe right now risks pulling the rubber further away, or even tearing the thin canvas if the lip catches hard enough on something. There’s no water damage to the inside of the toe box yet, but if you leave the peel unaddressed, rain or puddles will seep through the gap and soak your socks the next time you wear the shoes out in wet weather.
Parts of This Pair You Leave Untouched
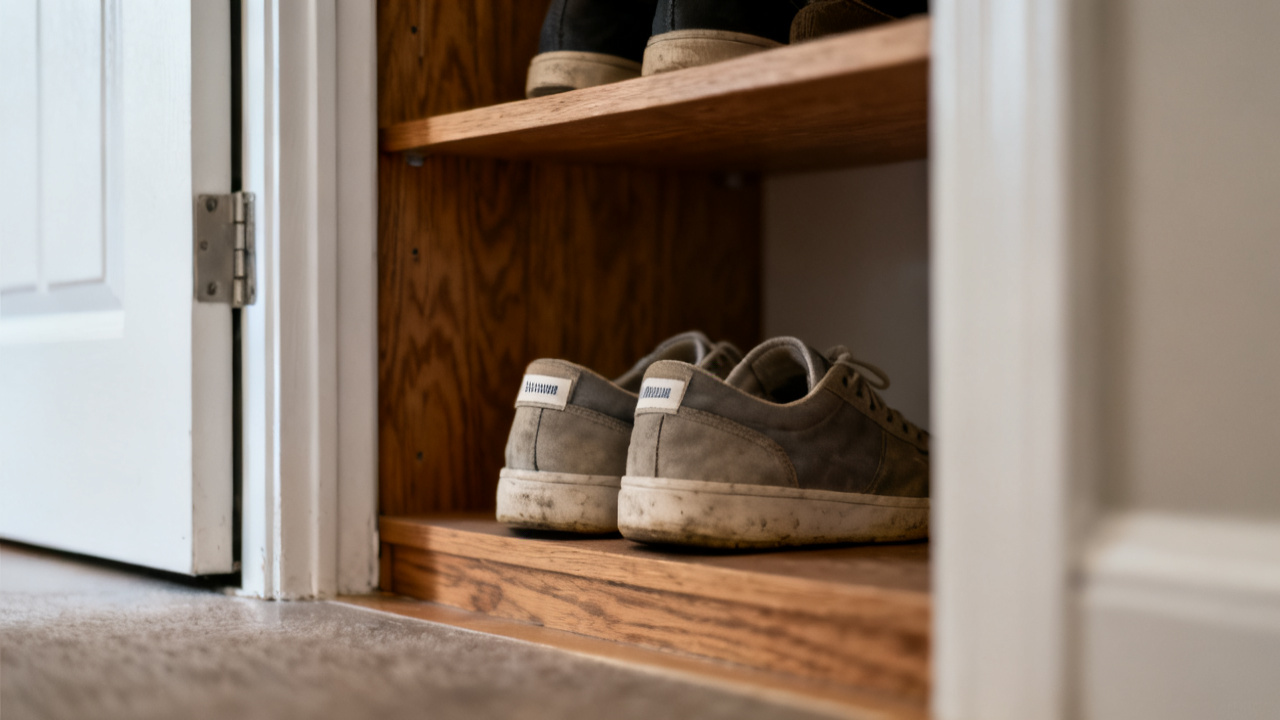
You might be tempted to pry the rubber lip back further to clean out every last bit of dirt from under the edge, but don’t do it—prying will break the remaining intact glue bonds around the edges of the peel, making the lifted section bigger and harder to fix. Don’t mess with the heavy stitching that runs along the midsole, connecting the upper to the insole and the core of the outsole; that stitching has nothing to do with the toe cap peel, and picking at it will only weaken the structural integrity of the whole shoe. The matching left shoe in this pair has zero signs of peeling or glue failure, so leave it entirely alone for now—there’s no need to apply glue or mess with its toe cap if it’s still fully bonded. Don’t try to cut the lifted rubber lip off with scissors either; that will leave a sharp, uneven edge that catches even more than the lifted lip does, and it will ruin the waterproofing of the toe cap entirely.
Ten-Minute Fix for This Peeling Shoe
You don’t need any specialty tools beyond what you already have in your junk drawer for this quick repair. Follow these steps to secure the lifted edge:
- Wipe the gap between the lifted rubber and the canvas with a damp cotton swab to dislodge any dirt, lint, or dried glue crumbs, then pat the area completely dry with a paper towel. Any moisture left will keep the new glue from sticking properly, so take 30 extra seconds to press the towel into the gap to soak up every drop.
- Squeeze a thin, even line of flexible shoe glue along the entire underside of the lifted rubber lip. Don’t overfill the gap, or excess glue will seep out and stain the white canvas above the toe cap. Illustrative example: A 2cm line of glue is enough to cover the entire 2-inch lifted edge without overflow.
- Press the rubber lip firmly against the canvas, holding it in place for 90 seconds to let the glue set enough that it doesn’t pop back up when you release pressure. Wipe any tiny bits of excess glue that squeeze out immediately with a damp paper towel before it dries into a noticeable, hard to remove mark.
- Wrap a thick rubber band tightly around the toe of the shoe, running it from the base of the laces down to the very tip of the toe, to hold the bonded area under constant pressure while the glue cures fully.
Where This Shoe Lives While the Glue Cures
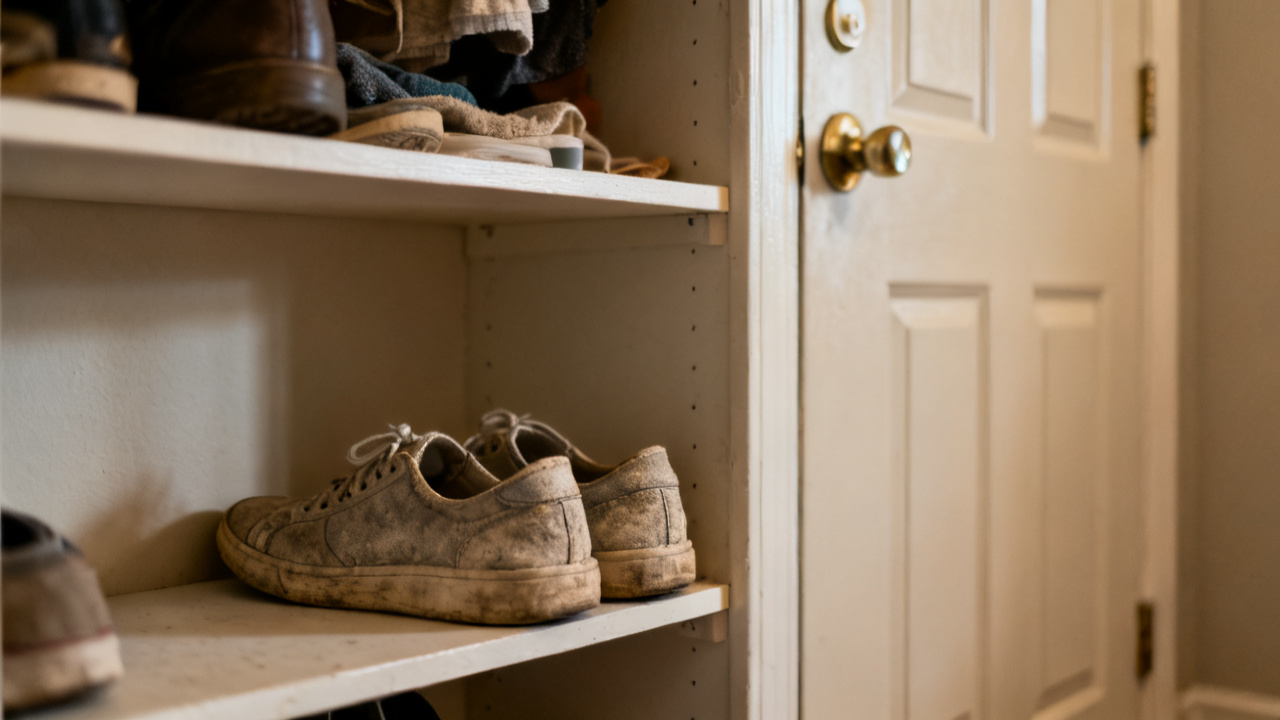
You don’t want to leave the shoe on the entryway floor, where your roommate might accidentally kick it or step on the toe, disrupting the glue bond before it sets, or where your cat might decide the rubber band wrapped around the toe is a fun toy to bat off and carry across the apartment. Instead, set it on the highest shelf of your entryway closet, where it’s out of reach of pets and foot traffic, and far from the damp air that drifts from the bathroom down the hall when someone takes a shower. Keep it away from direct heat sources too, like the vent next to your heater, because high heat will make the glue cure too fast, turning it brittle and weakening the bond long-term. The matching left shoe can sit right next to it on the shelf, so you don’t end up misplacing one while you wait for the glue to cure. Avoid leaving the pair in direct sunlight streaming through the front window, as the UV rays can yellow the white canvas and rubber of the toe cap, making the repair more noticeable once it’s done. 24 full hours of cure time is enough for the glue to reach its full strength, so make sure the shelf is a spot you won’t be tempted to grab the shoe from for a quick errand run before that time is up.
Minor Irritations With This Pair to Ignore Right Now
There’s a faint gray scuff on the side of the toe cap that you got when you kicked a bike rack outside the grocery store last month, and while it’s a little unsightly, it doesn’t affect the function of the shoe at all, so ignore it for now. Trying to touch it up with white shoe paint right now will risk getting paint on the wet glue, or smudging it into the canvas, leaving a bigger mark than the original scuff. The laces are a little faded from two years of regular wear and washes, but they still tie tight, have no frayed ends, and don’t slip loose when you walk, so there’s no need to replace them right now. There’s a small dirt stain on the heel of the canvas from when you stepped in a mud puddle last week, but it’ll come out with a quick scrub with mild soap and water when you clean the whole pair after the glue is fully cured; scrubbing it now will risk getting the wet glue area damp, which will weaken the bond. The outsole of the heel has a small wear spot, only about a millimeter deep, from walking on concrete sidewalks every day, but there’s no sign of it wearing through to the foam midsole underneath, so it’s not a problem that needs addressing for at least another three to four months of regular wear.
Next Time You Inspect This Pair
Your first check of this pair happens exactly 24 hours from now, right before you plan to wear them out to run errands. Start by peeling the rubber band off the toe of the repaired shoe, then gently tug on the edge of the sole that was lifting to test if the bond is secure. If it doesn’t pull away at all, you can slip the shoes on and wear them as normal, but you’ll do a quick 10-second check of the toe cap every time you take the shoes off for the next two weeks, to make sure the edge isn’t lifting again from repeated bending when you walk. If you notice a tiny gap forming at the edge of the repair, you can add a tiny dot of glue to that spot before it gets big enough to catch on things and turn into a larger peel. During those two weeks of regular checks, you’ll also run a finger along the toe cap of the left shoe every time, to catch any early signs of peeling before it becomes a problem, since this pair is made with the same glue and gets the same amount of wear on both feet. After the first two weeks of frequent checks, you only need to look over the soles of both shoes once a month, when you wipe off the accumulated dirt from the canvas and rubber, to catch any small issues before they turn into bigger, harder to fix problems. If the repair holds for a full month of regular wear, you can go back to your normal routine of only checking the shoes when you notice them catching on something, or when you clean them.