The Spray That Did Nothing in Today’s Rain
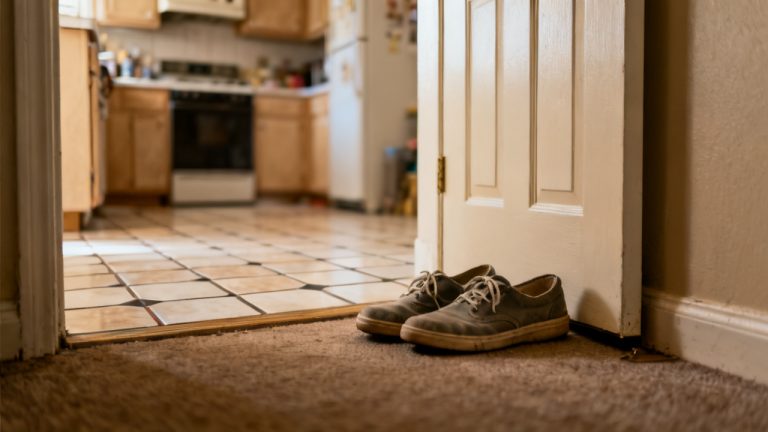
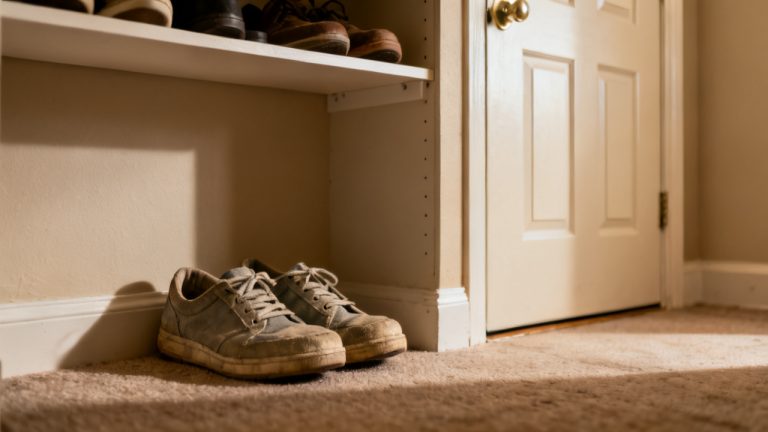
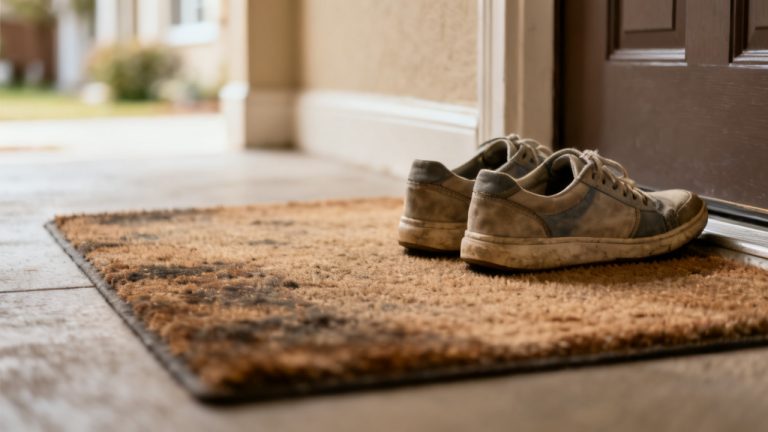
You sprayed these yesterday. The sock is still wet at the ankle. You’re propped against your Doorstep Bench, kicking off the pair one at a time, rain dripping off the toe caps onto the welcome mat you forgot to shake out last week. The spray bottle you’d paid $12 for sits on the entry shelf right behind you, taunting you a little when you glance over at its neon “100% WATERPROOF GUARANTEE” label.
Why This Pair Leaks At The Ankle
The spray you used was designed for porous canvas uppers, not the stitched seam where the tongue meets the ankle collar of this pair. That seam has tiny, uncoated needle holes that the waterproof spray couldn’t seep into, even when you applied two full coats yesterday afternoon. You’d followed all the directions on the spray bottle too—you wiped the shoes clean, applied the first coat in a well-ventilated area, waited 30 minutes for it to dry, then added a second coat before you left them on the porch overnight to cure. None of that mattered for the ankle seam, though, because the spray’s formula is made to sit on top of fabric surfaces, not seep into the tiny gaps left by the industrial sewing machine that put these shoes together. The rain you walked through today was heavier than the light drizzle the spray is rated for, too, so even if the seam had a light coating, the steady stream of water would have pushed through the gaps eventually. The spray did its job on the toe and side panels—you can see water beading off those areas as you set the shoes on the mat—but the ankle seam has no protective coating at all, so rain seeped straight through the moment you stepped through that puddle three blocks from the office.
Parts Of This Shoe You Do Not Touch Right Now
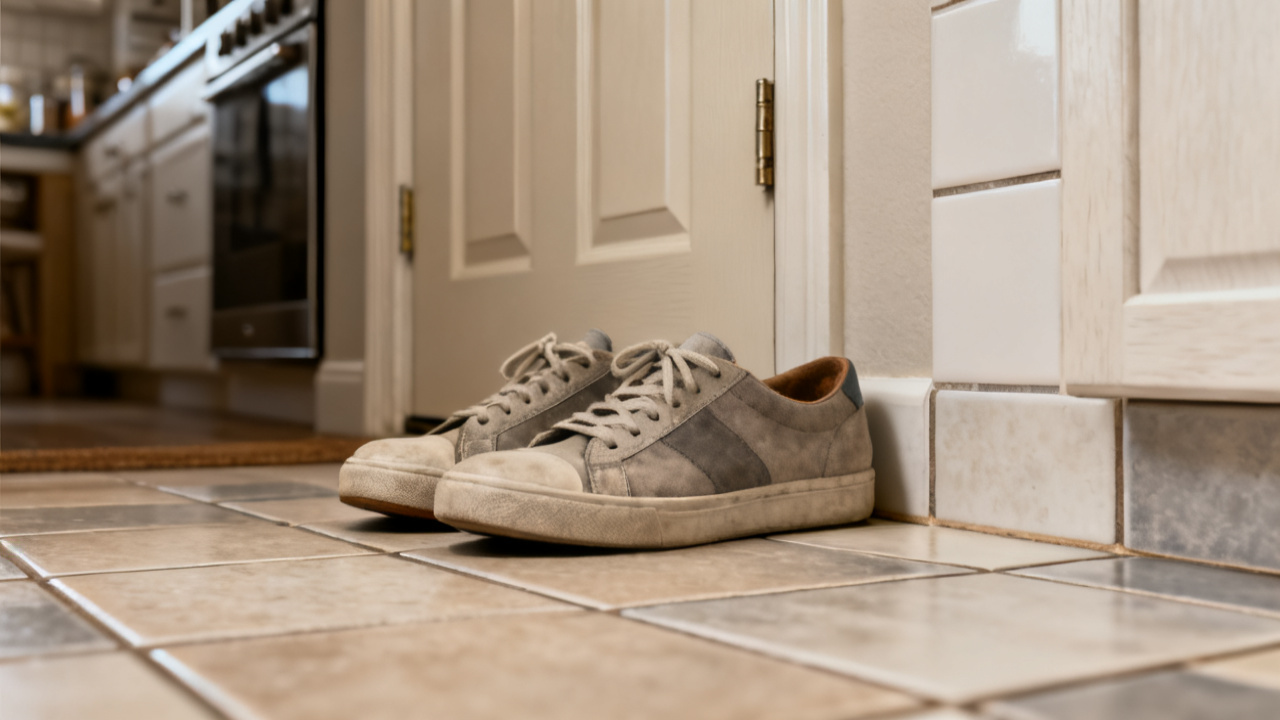
The suede heel tab on each of this shoe is still damp, and rubbing it now will make the fabric pill and fade to a lighter, uneven shade. You also leave the laces tied exactly as they are; untying them now will stretch the wet eyelets, making them loose and prone to fraying once they dry. The insole feels squelchy when you press on it, but you don’t yank it out right now—if you pull it while the fabric lining is wet, you could tear the glue that holds the heel cushion in place. You also avoid wiping the side panels with a wet cloth right now, since the spray coating is still intact and wiping it with harsh soap will wear the coating down faster than leaving the light dirt spots to dry before you brush them off.
The 10-Minute Fix For This Pair You Can Do Before You Make Dinner
This fix targets the unprotected ankle seam, so you don’t waste time reapplying spray to areas that already repel water. Grab the seam sealant pen you keep in your entry utility drawer, a paper towel, and a small straight pin, then work through these steps:
- Wipe the entire ankle seam of both shoes with the dry paper towel to remove any remaining rain droplets or dirt that got caught in the stitching. Press lightly so you don’t push debris deeper into the needle holes.
- Use the straight pin to poke any clogs out of the tip of the seam sealant pen, then run a thin, even bead of sealant along the entire length of the seam where the tongue meets the ankle collar on both shoes. You don’t need to glob it on; a thin coat will seep into the needle holes without leaving a visible ridge.
- Dab any excess sealant off the edge of the seam with a clean corner of the paper towel before it dries, so you don’t end up with a stiff, scratchy line that rubs your ankle when you wear the shoes next.
- Run a second thin bead of sealant along the seam where the upper fabric attaches to the rubber sole on both shoes, since that’s another common spot for uncoated needle holes that let water seep through.
- Let the sealant set for three minutes while you lean against the entry wall and scroll through your text messages, so it doesn’t run when you move the shoes to their drying spot.
Illustrative example: If you let the first coat of sealant cure for 12 minutes before moving the shoes, you won’t smudge the coating when you pick them up to transfer them to the drying spot. Sealant wears down with regular wear and tear, so you’ll want to check the seams every few weeks if you wear these shoes daily.
Where This Wet Pair Sits While It Dries
You don’t set this pair near the space heater by your couch, since direct high heat will warp the rubber sole and make the upper fabric stiff and brittle. Instead, you prop them up on the slatted vent cover next to your entry closet, with the ankle collars tilted open to let air flow through the inside of each shoe. You tuck a crumpled sheet of newspaper into the toe of each shoe to soak up the excess moisture trapped in the insole, replacing the paper once it gets damp to speed up the drying process. You keep them out of direct sunlight coming through the front window, too, so the black fabric of the upper doesn’t fade over the next few hours. You avoid setting them on the carpet right inside the door, since the damp soles will leave a water stain that’s hard to scrub out later, and the slatted vent cover lets air flow under the soles too, so they dry evenly all the way around.
Common Myths About Waterproofing This Pair You Can Ignore
The first myth you can disregard is that you need to douse the entire shoe in three or more coats of waterproof spray to keep water out. As you saw today, the spray doesn’t penetrate stitched seams, so extra coats on the upper won’t fix the leak you dealt with on your walk home. Second, you don’t need to throw away the half-used bottle of waterproof spray just because it didn’t work for this leak. The spray works perfectly for your old canvas sneakers that have no exposed stitching along the ankle, so you can save it for when you need to reapply their coating next month. Third, you can ignore the myth that you have to waterproof your shoes every single week to keep them protected. Most waterproof coatings last for months with regular wear, so frequent reapplication just wastes product and can leave a stiff, sticky residue on the upper fabric. Fourth, you don’t need to buy expensive specialty waterproofing kits for this pair; the $5 seam sealant pen you already have works just as well as the $30 kits sold at outdoor gear stores for sealing small stitched gaps.
Your Next Check Of This Pair Before The Next Forecasted Rain
When the weather app says rain is expected three days from now, you grab this pair off the vent and run a quick test of the seam sealant before you head out for the day. Spritz a small amount of tap water on the ankle seam of both shoes, and check to see if the water beads off or seeps into the stitching. If it seeps, you can add another thin coat of sealant 24 hours before you need to wear the shoes, so it has time to cure fully before it gets wet. You also check the toe and side panels to see if the spray coating is still working, and reapply a single coat of the waterproof spray if the water no longer beads off those areas. You don’t have to redo the entire waterproofing process every time it rains, just a quick check to make sure the seams are still sealed and the upper coating is intact. If you plan to walk through heavy rain or deep puddles, you can add an extra layer of sealant to the sole seam a day in advance for extra protection, but for regular commutes in light to moderate rain, the single coat you applied today will work just fine.