The Insole Bunched at the Heel
Something thick is under your heel. You pull the shoe off to look. The crumpled edge of the insole juts up right where your Achilles presses, half peeled away from the shoe’s base, crusted with a faint dust of sidewalk salt from your walk home. You prop your hip against the Doorstep Bench, socked foot propped on the edge so you can work without kneeling on the cold hallway tile. Your other shoe sits by your feet, still laced, no obvious signs of the same issue so far.
Peel this shoe’s insole fully out first
You hook your index finger under the curled heel edge and pull slowly, working your way around the perimeter of the insole to avoid tearing the thin foam that’s already worn thin along the arch from months of daily wear. The adhesive holding it down has worn thin along the back third, which is why it shifted during your walk home from the bodega, where you stopped to pick up milk and a carton of orange juice after work. You shake off the crumbs of granola and stray pet hair that collected under the insole over the last three months, setting the loose insole face-up on the bench beside you. You can see the faint impression of your heel pressed deep into the foam, a clear outline of where the fabric has rubbed thin from consistent wear, even through the thick wool socks you’ve been wearing all winter.
Smooth this pair’s crumpled heel edge carefully
Run the palm of your hand back and forth over the bunched section a few times, pressing flat any creases that have set into the foam from being folded under your heel for 12 blocks of walking in slushy, snow-dusted sidewalks. If the edge is crinkled so bad it won’t lay flat, you can run the warm edge of a hair dryer over it for a few seconds to soften the foam, but don’t hold it too close or you’ll melt the fabric top layer and leave a rough patch that rubs against your skin. Illustrative example: 30 seconds of low heat held 6 inches away from the insole is enough to relax the creases enough that they don’t pop back up immediately when you take pressure off. You don’t need to get every tiny wrinkle out, just the large folds that would rub against your heel and cause blisters on your next wear. Small, flat creases that don’t rise above the rest of the insole won’t impact the fit at all, so you can leave them be if you don’t want to fuss with the hair dryer.
Test this left shoe’s fit before you resecure the insole
Lay the insole back into the shoe, lining the toe edge up exactly with the front of the shoe’s toe box so it doesn’t shift forward when you put weight on it. Slip your foot back into the shoe, standing up and shifting your weight back and forth a few times, rolling from toe to heel, to see if the heel edge lifts or folds again when you move. Walk to the end of the hall and back to mimic regular walking movement, and pay attention to any thick or lumpy spots under your foot that signal the insole is still shifting. If it stays put, you don’t need to add new adhesive; you can just tuck the edges firmly into place for now. If it shifts, you can grab a small dot of craft glue or double-sided shoe tape to hold the heel edge down once you’re ready to secure it long term. You don’t have to run out to buy special shoe adhesive if you don’t have any on hand; regular white craft glue works just as well for this small fix, as long as you let it dry fully before wearing the shoe.
Tuck this pair’s loose edges flat against the base
Follow these steps to make sure the insole stays in place without any awkward folds or gaps:
- Line the toe edge of the insole up flush with the inside front of the shoe, making sure there’s no gap that would leave your toe pressing directly against the hard rubber base.
- Press the insole down firmly along the entire footbed, starting at the toe and working your way back to the heel to push out any air bubbles trapped under the foam.
- Run your index finger around the entire perimeter of the insole, tucking any overhanging edges under the shoe’s inner lining so they don’t catch on your sock when you slip your foot in.
- Add a single small dot of glue to the underside of the insole’s heel edge if you noticed it shifting during your test walk, then press it down for 10 seconds to set the adhesive.
- Run your hand over the entire footbed one last time to check for any raised edges or folds you missed during the first pass.
You don’t need to cover the entire underside of the insole with adhesive; a single dot is enough to hold the heel in place for regular wear, and it makes it easier to pull the insole out later if you need to replace it or clean the inside of the shoe. Avoid using super glue, since it will harden the foam and make the insole uncomfortable to stand on for long periods.
Set this shoe aside for the rest of tonight
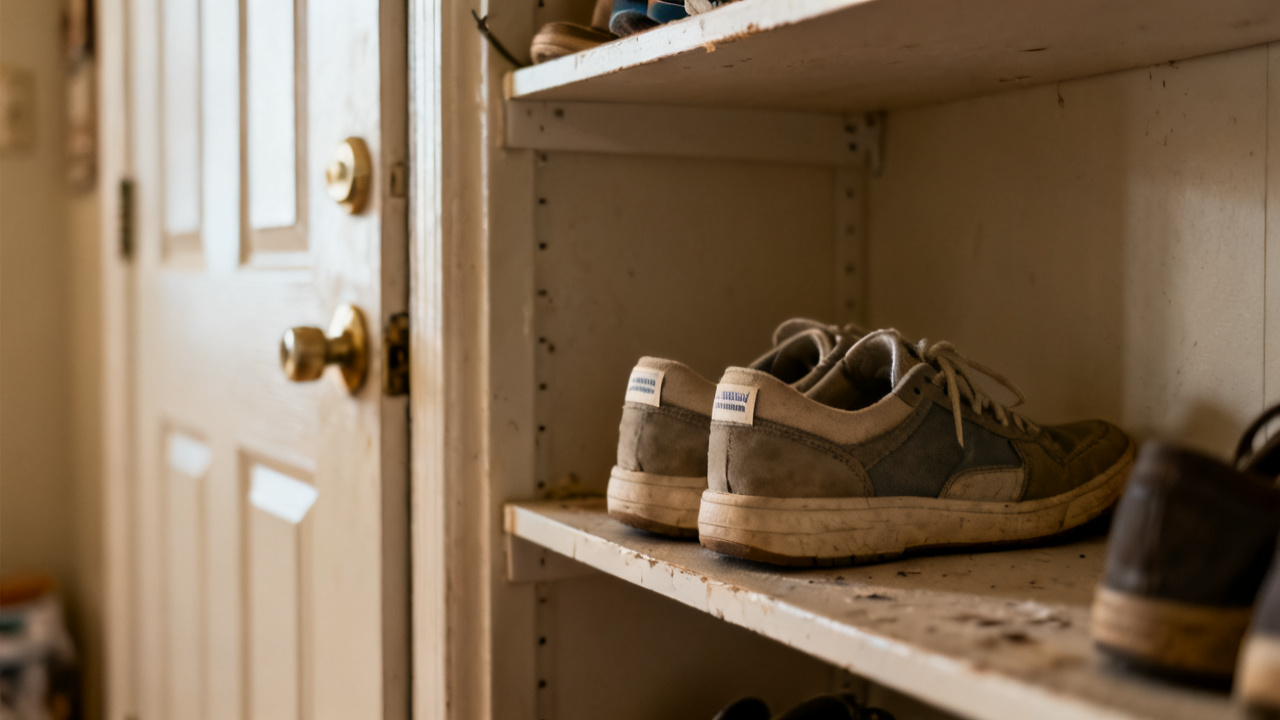
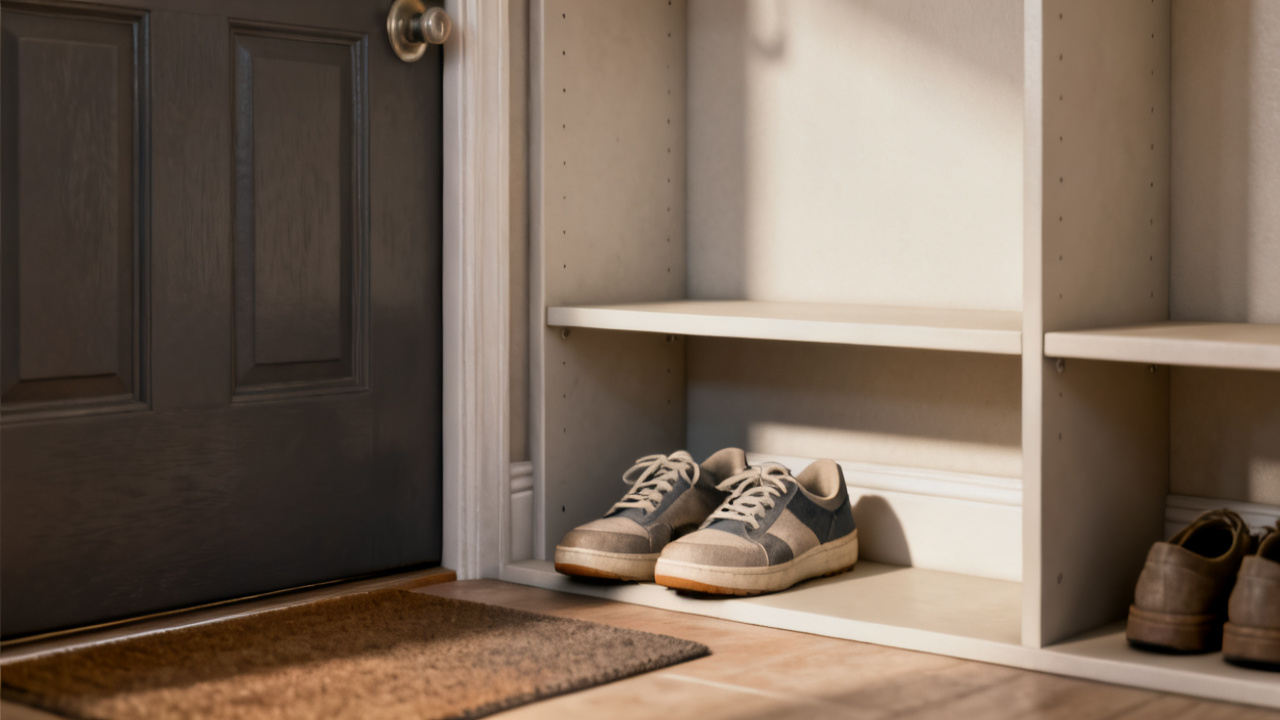
Once you’re happy with how the insole sits, set the shoe next to its pair by your front door, laces loosened so it can air out overnight. You don’t need to wear it for the rest of the evening; you can slip into your house slippers now that you’re home for the night. If you added glue to the heel edge, leaving it to sit undisturbed overnight gives the adhesive time to cure fully before you put weight on it again. You don’t have to do any more work on it tonight, even if you notice a tiny remaining crease you missed earlier; it will be fine to fix tomorrow if it’s still there. You can drop your work bag by the door and head to the kitchen to put your groceries away now, no more fiddling with the shoe required for the rest of the night.
Grab this same pair before you head out tomorrow morning
When you reach for the pair tomorrow, slip your foot in first to do a quick check of the heel edge before you lace up, to make sure the insole didn’t shift overnight while it was sitting. If it’s still laying flat, you can lace up as normal and head out without any extra adjustments. If you notice it starting to bunch again, you can add a second small dot of glue to the heel edge before you leave, or swap in a new insole if the old one is too worn to hold its shape anymore. You can also take a quick minute to check the insole of the right shoe while you’re at it, to catch any peeling edges before they start to bunch under your heel mid-walk. If the insole stays put for your full commute tomorrow, it will likely hold for at least a few weeks of regular wear before you need to adjust it again. You can keep a small roll of shoe tape in your bag for on-the-go fixes if the edge starts to lift while you’re out, no need to cut your day short to deal with it right away.