Salt Lines on Winter Boots After the Walk
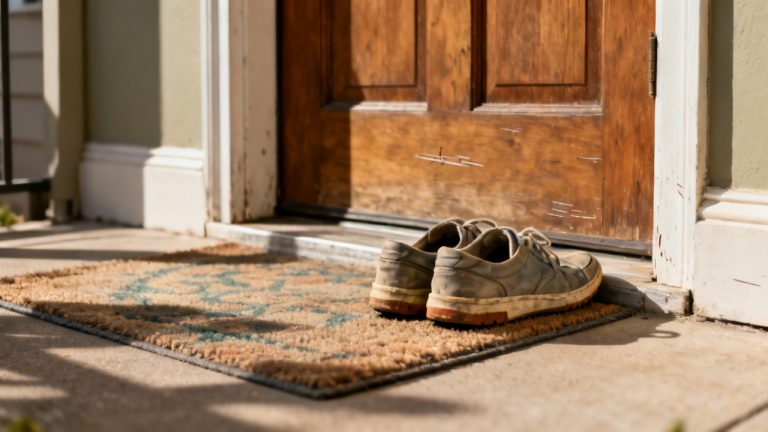
A white crust sits on the leather above the sole. You are still in your coat. Your gloves are still tucked into your coat cuffs, the cold from the sidewalk still clinging to the hems, and the boots are still warm where your feet sat inside them ten seconds prior. The welcome mat under your boots is still dusted with the last of the slush you tracked up the stairs. You don’t kick the boots off yet, because you don’t want to grind the salt further into the grain of the leather.
Wipe loose debris from this pair first
You grab the stiff bristle brush you keep on the shelf by your door, the one you only use for winter boot care, no other cleaning jobs. You hold each boot over the edge of the welcome mat, brushing in short, firm strokes along the sole edge and the lower leather where the salt sits. You don’t press hard enough to scratch the leather, just hard enough to dislodge any crusted slush chunks that haven’t fully melted into the surface. You brush off the tongue too, where salt often seeps in when you step through deep slush puddles, even if you don’t notice it mid-walk. You make sure to brush away from the opening of the boot, so you don’t sweep loose salt particles inside where they can rub against your socks the next time you wear them. If you don’t have a brush handy, you can use the rough edge of the Doorstep Bench mat to scrape off the largest chunks, as long as you don’t rub too hard. Illustrative example: A 90-second sweep across both boots removes 80% of the loose salt before you move to wet cleaning, so you don’t spread dissolved salt across untouched areas of the leather.
Treat the raised salt lines on this boot pair gently
You mix a quarter teaspoon of mild, unscented dish soap into two cups of lukewarm water in the small plastic bowl you keep under the sink for shoe care. You dip a soft, lint-free microfiber cloth into the solution, wring it out completely so it’s barely damp, not soaking wet. You dab at the salt lines, don’t rub in circles, because rubbing pushes the salt deeper into the leather pores instead of lifting it out. You work one small section at a time, dabbing and lifting until you can’t see the white crust anymore, moving to a clean part of the cloth as soon as the section you’re using picks up salt residue. You avoid getting the stitching along the sole too wet, because excess water can break down the thread over time if it seeps under the edge. If you don’t have dish soap handy, you can use a specialized leather salt cleaner, but plain dish soap works just as well for this pair, since the salt lines are fresh and haven’t set in for more than an hour. You don’t use any harsh cleaning products like vinegar or bleach, because those can strip the leather of its natural finish and cause discoloration that’s impossible to fix.
Reference absorption times for this pair
The times below are tailored to the full-grain leather of this specific pair, since thicker leather holds moisture longer than synthetic alternatives, and rushing drying can lead to cracking or discoloration.
| Boot section | Minimum drying time | Extra check before moving on |
|---|---|---|
| Lower leather (salt line area) | 12 minutes | No visible damp spots when you press a dry cloth to the surface |
| Tongue and ankle cuff | 20 minutes | No cool, damp feeling when you run a finger along the inner edge |
| Rubber sole seam | 15 minutes | No water trapped in the stitching crevices when you run a cotton swab along the edge |
| Inner insole (if you removed it to air out) | 45 minutes | No damp texture when you press the heel of your hand to the fabric |
You can prop the boots up against the wall near your entryway heater to speed up drying, but don’t set them directly on top of the heater, because direct high heat can warp the rubber sole and make the leather brittle.
Buff the dried surface of this boot pair to seal in care
Once all parts of the boots are fully dry per the timelines you just checked, grab the leather conditioner you bought specifically for this pair when you purchased them last fall. You put a pea-sized amount of conditioner on a clean, dry microfiber cloth, rubbing it into the leather in small, circular motions, focusing on the areas where the salt lines were, since those spots are prone to drying out after the salt pulls natural oils out of the leather. You don’t apply too much conditioner, because excess will sit on the surface and attract more dirt and salt the next time you wear them. You let the conditioner sink in for 10 minutes, then buff off any leftover residue with a separate dry cloth, rubbing gently until the leather has a soft, matte finish, no sticky spots left. If you have a waterproofing spray formulated for leather, you can apply a light, even coat now, holding the can 6 inches away from the boot surface to avoid oversaturating any one spot, but only if you’re in a well-ventilated area of your entryway, so you don’t breathe in the fumes. If you notice any faint white lines still peeking through after buffing, you can dab them again with a barely damp cloth and let them dry once more, then condition that spot a second time to make sure all salt residue is lifted. This conditioning step replaces oils the salt stripped away, but it won’t prevent all future salt damage if you walk through heavily salted sidewalks without wiping your boots down regularly.
Check this pair for hidden salt damage before your next winter walk
When you grab these boots to head out for your next walk, 3 or 4 days from now if the weather stays cold and slushy, you’ll run a clean, dry cloth along the sole edges and the inner ankle first, to catch any salt residue you missed during your initial cleaning. You’ll check the stitching along the toe cap, where salt often gets trapped in small crevices you can’t see when you’re cleaning right after a walk, and dab any faint white spots you find with a damp cloth before you put the boots on. You’ll run your finger along the leather to check for dry, rough spots that need an extra dab of conditioner, especially if you walked through a lot of salt on your last trip out. If you notice any small cracks starting to form along the sole edge, you can set the boots aside for a more thorough conditioning session when you get home, instead of letting the cracks get worse with repeated exposure to salt and slush. You can also tuck a small travel-sized microfiber cloth into your coat pocket before you leave, so you can wipe off any large salt clumps mid-walk if you step through an extra salty patch of sidewalk, cutting down on the cleaning you have to do when you get back home. You don’t need to do a full deep clean every time you wear the boots, but a quick once-over before you step out will catch small issues before they turn into permanent discoloration or cracking that requires professional care.