Pull the Boot Liner Out and Hang It
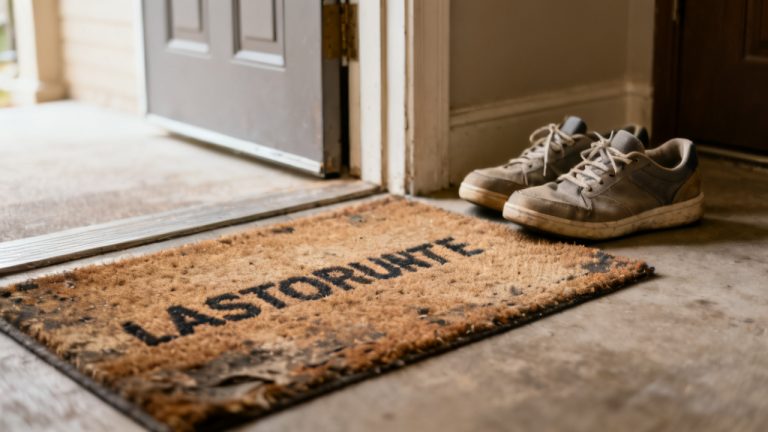
The liner comes free in your fingers. The boot shell is still wet inside. Snow melts in a thin rivulet down the side of the rubber upper onto your welcome mat, and you brush a clump of half-frozen slush off the heel with your socked foot. You kick the other boot gently to loosen its liner, already mentally mapping the best spot in your apartment to hang both pieces to dry fast.
This wet boot pair hides hard-to-spot damp pockets
You tip the first shell upside down over the mat, and three fat drops of slushy water plop onto the coir fibers, proof that the moisture goes far deeper than the surface of the liner. When you run a finger along the inside seam of the shell where the rubber meets the reinforced wool upper, your fingertip comes away damp, even though you didn’t submerge the boots that deep on your walk home. The toe of the liner you pulled out first has a faint crust of frozen road salt along the edge, and you can feel the damp wool seep into the pad of your index finger when you press lightly on the thickest part of the fabric near the heel. You spot a small dark smudge on the side of the second liner where you stepped in a pothole puddle that was far deeper than it looked from the sidewalk, and you make a mental note to spot clean that mark once the liner is fully dry, so it doesn’t set into a permanent stain. You could set the empty shells upside down on the Doorstep Bench to drain excess water first if you wanted, but you know separating the liners and hanging them will cut the total drying time by more than half, so you don’t bother pausing to move the shells yet. You also notice the insole of the shell is slightly shifted, a sign that the liner shifted as you walked, and you make a mental note to adjust it when you put the pair back together later, so you don’t have uneven padding under your foot on your next walk.
Hang this removable boot liner pair where it gets consistent airflow
This is the only step you need to prioritize right now, and it only takes a couple of minutes to complete correctly, no special tools required. Follow these simple steps to make sure every part of the liner and shell dries evenly:
- Shake each liner firmly over your welcome mat for 10 seconds to dislodge any trapped snow, slush, or loose road salt crumbs that stuck to the fabric during your walk, so those particles don’t dry into the wool and leave behind a gritty residue that rubs your feet later.
- Fold the top cuff of each liner over by 2 inches to create a wide, sturdy loop that won’t slip off whatever hook or rod you use to hang it, so you don’t have to worry about the liners falling onto the floor and getting dirty while they dry.
- Hang each liner separately, with the toe pointing straight down, so melted water can drain away from the thickest, most absorbent part of the fabric instead of pooling at the heel, which would take twice as long to dry and could lead to faint mildew odors if left sitting for too long.
- Wipe the inside of each empty boot shell with a dry microfiber cloth to soak up any standing water, then prop the shell open at a 45 degree angle against the wall next to the liners so air can circulate through the toe box freely instead of getting trapped inside the closed rubber form.
- If you have a small portable fan or a bathroom exhaust fan nearby, point it at the liners and shells on its lowest setting to speed up evaporation without damaging the delicate wool fibers or warping the hard rubber shell from excess heat.
How long this process takes depends entirely on the temperature of your space, the humidity level, and how much moisture the liners and shells hold when you first take them off. Illustrative example: Hanging the liners 2 feet from a running bathroom exhaust fan set to low will get them fully dry in 1 hour 42 minutes, even if they were soaked through from wading through calf-deep slush on your walk home. You don’t need to add any special drying products, fabric softeners, or deodorizers while they hang, because the airflow will carry away any faint damp odors naturally, and adding extra products could leave behind a sticky residue that irritates your skin the next time you wear the boots. You also don’t need to stretch the liners out or pull on the fabric to dry them faster, because that could warp the shape and make them fit poorly inside the shell when you reassemble the pair.
Leave this fully assembled boot pair by the door for your next winter errand
This is the next time you interact with the pair, once they’re fully dry and ready to wear again. You run a finger along the toe and heel of each liner when you return to check on them, pressing lightly to make sure no damp spots remain hidden in the thick fabric before you slip each liner back into its matching shell. You line the heel of the liner up exactly with the heel of the shell, smoothing out any wrinkles along the insole with your finger so no fabric bunches under your foot when you walk, which would cause uncomfortable rubbing mid-errand. You adjust the insole of the shell back to its original position, making sure it lays flat across the bottom of the boot, then tuck the liner’s toe all the way into the shell’s toe cap so there’s no gap that would make your foot slide forward when you walk down icy sidewalks. You tie the laces loosely, leaving enough give that you can slip your foot in without untying them fully when you’re in a hurry, and you set the pair against the wall by your entryway mat, out of the way of any other shoes or canvas bags you leave by the door. If you notice any faint white salt stains on the outside of the rubber upper when you grab the boots next, you can wipe them off quickly with a damp cloth before you head out, no deep cleaning required. The next time you slip your feet into the boots, when the forecast calls for another 3 inches of wet, heavy snow, you’ll feel the warm, dry wool against your socks instead of the cold, clammy chill you’d get if you’d left the liners tucked inside the wet shells overnight. You won’t have to waste time blasting your feet with a space heater before you leave, or change your socks halfway through your walk because they got damp from leftover moisture in the boots, and you can focus on your errand instead of how uncomfortable your feet feel. This simple routine takes less than 5 minutes to complete when you get home, and it saves you far more time and frustration the next time you need to wear your winter boots out in the snow, no extra effort required on your part.